Category: Painting

  • DIY Exterior Painting Tips for a Professional Finish

    DIY Exterior Painting Tips for a Professional Finish

    Introduction

    Exterior painting looks simple until you actually start — then you realize why professionals charge what they do. Still, with the right DIY exterior painting tips, a motivated homeowner can pull off a genuinely good finish without hiring a full crew. I tried this myself on a small independent house a couple of summers back, and honestly, the prep work mattered far more than the actual painting. This guide walks through what actually makes the difference between an amateur-looking job and one that holds up for years, going into 2026.


    1. Choose the Right Weather Window

    Timing matters more than most people realize before starting an exterior paint job.

    Quick answer: The best time for DIY exterior painting is during dry weather with moderate temperatures, ideally avoiding monsoon season entirely and extreme summer heat, since both humidity and excessive heat affect paint adhesion and drying quality.

    2. Prep the Surface Properly (Don’t Skip This)

    I’ve noticed most DIY paint jobs fail here, not in the actual painting. Surface prep is tedious, but skipping it shows within months.

    • Scrape off peeling or flaking old paint completely
    • Fill cracks and holes with exterior-grade filler before painting
    • Wash the surface thoroughly to remove dirt, mold, and grease buildup

    3. Prime Before You Paint

    Skipping primer is one of the most common DIY exterior painting mistakes, especially on surfaces with patchy old paint or exposed plaster. [link to related home improvement ideas guide here]

    Direct answer: Applying a quality exterior primer before painting ensures better paint adhesion, more even color coverage, and longer-lasting results — skipping this step often leads to patchy finishes and paint peeling prematurely within a year or two.

    4. Choose Weather-Resistant Exterior Paint

    Not all paint is created equal for outdoor use. Exterior-specific paints handle UV exposure, rain, and temperature swings far better than interior formulations.

    • Look for paints rated for exterior use with UV resistance
    • Weatherproof or elastomeric paints work well for regions with heavy monsoon exposure
    • Budget roughly ₹200-400 per liter for quality exterior paint in India

    5. Use the Right Tools for Different Surfaces

    Picture a small business owner in Jaipur painting her shop’s exterior wall — she used a roller for the flat wall sections but switched to a brush for window frames and trim, getting a noticeably cleaner finish than using just one tool throughout.

    • Rollers work best for large, flat wall areas
    • Brushes handle trim, corners, and detailed edges better
    • Sprayers save time on large surfaces but require more setup and skill

    6. Apply in Thin, Even Coats

    Has this ever happened to you — applying paint too thick, hoping to finish faster, only to end up with drips and uneven texture? Thin, even coats always look better than one thick, rushed layer.

    • Apply two thin coats rather than one thick coat
    • Allow proper drying time between coats (check product label, usually 4-6 hours)
    • Avoid painting in direct harsh sunlight, which dries paint too quickly and unevenly

    7. Protect Surrounding Areas

    Simple prep work here saves significant cleanup time later and prevents accidental paint on windows, fixtures, or plants.

    • Cover windows, door frames, and fixtures with painter’s tape
    • Use drop cloths to protect flooring or plants below the work area
    • Remove or cover outdoor furniture and decor before starting

    8. Know When to Call a Professional Instead

    DIY works well for single-story homes and manageable surface areas. For multi-story exteriors requiring scaffolding, or surfaces with significant structural damage, it’s worth hiring professionals instead. [link to related roof replacement signs guide here]


    Frequently Asked Questions

    Q1: How long does DIY exterior painting typically take? For an average-sized home, expect 3-5 days including prep work, priming, and two coats of paint, depending on surface area.

    Q2: What’s the biggest mistake people make with exterior painting? Skipping proper surface preparation — cleaning, scraping, and priming — which causes paint to peel prematurely within a year or two.

    Q3: Can I paint over old, peeling exterior paint? No, peeling paint should always be scraped off first; painting over it leads to poor adhesion and quicker peeling of the new coat too.

    Q4: What’s the best season for exterior painting in India? Post-monsoon and pre-summer months generally offer the most stable, dry weather conditions ideal for exterior painting projects.

    Q5: How much paint do I need for an average home exterior? This varies by home size, but roughly 1 liter covers 100-120 square feet per coat — calculate total wall area before purchasing.

    Q6: Is it cheaper to DIY exterior painting compared to hiring professionals? Generally yes, DIY can save 40-60% compared to professional labor costs, though it requires more time and physical effort.


    Conclusion

    Getting a professional finish with DIY exterior painting tips really comes down to patience during prep work and applying paint in thin, controlled coats. Rushing the process is where most amateur jobs go wrong. Set aside a proper weekend, gather the right tools, and tackle one wall section at a time — the results genuinely hold up if you follow the basics carefully.


    Suggested Image Alt Text:

    1. “Homeowner applying exterior paint with a roller on wall”
    2. “Prepping exterior wall surface before DIY painting project”
    3. “Painter’s tape protecting window frames during exterior painting”
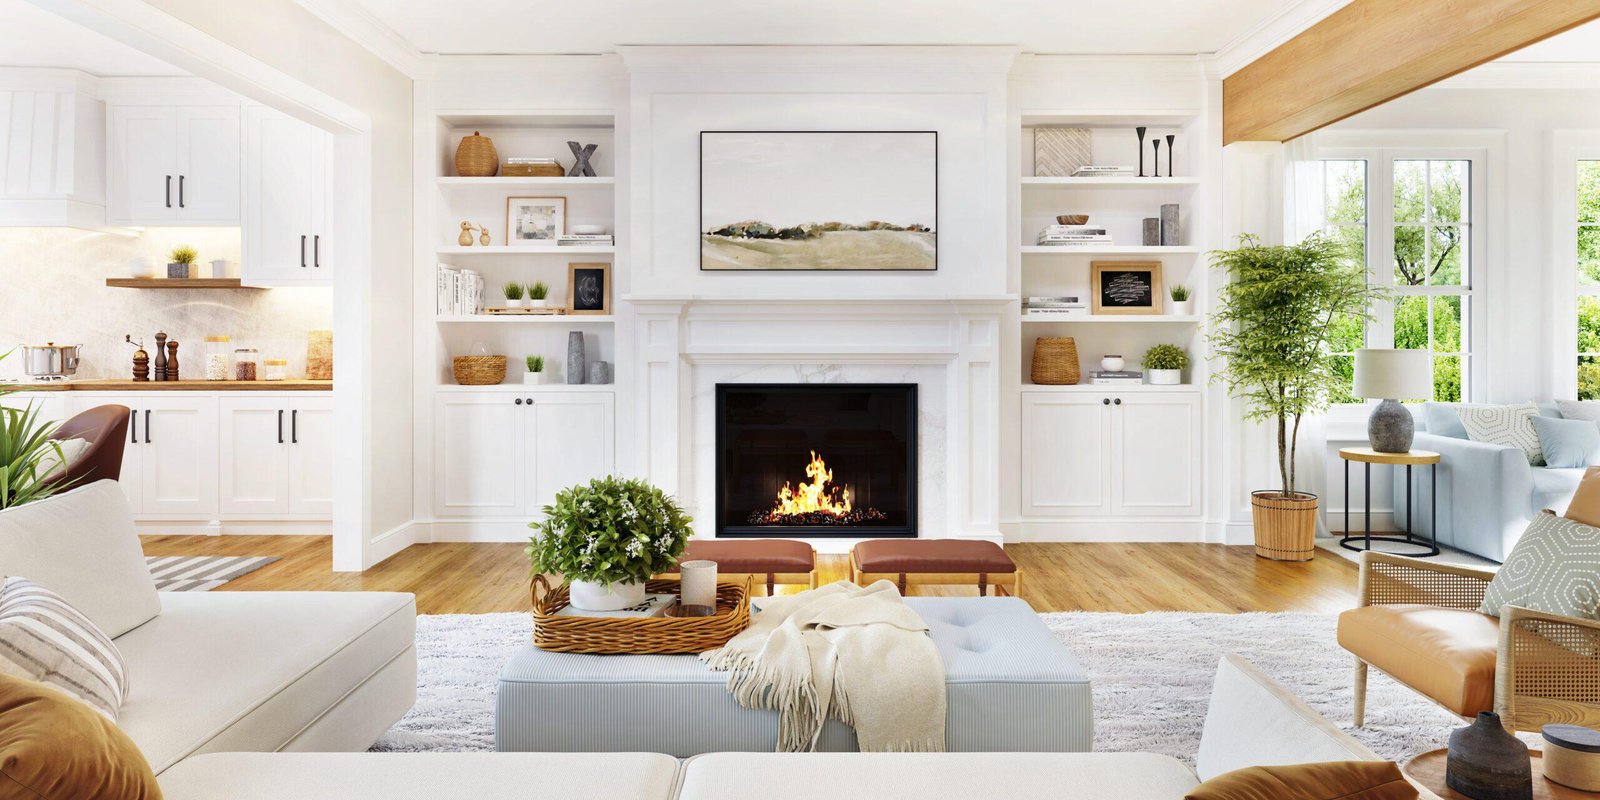
  • How to Choose Paint Color for Every Room

    How to Choose Paint Color for Every Room

    Introduction

    Standing in front of a paint shop wall with 40 shades of white can genuinely paralyze anyone. I’ve been there — picked a color that looked perfect on the swatch, then watched it turn oddly yellow once it covered an entire bedroom wall. Learning how to choose paint color properly isn’t about picking your favorite shade blindly. It’s about understanding light, room function, and how color actually behaves at scale. This guide walks through room-by-room considerations so your next paint job doesn’t end in regret, going into 2026.


    1. Understand Natural Light Before Anything Else

    This is the single biggest factor people ignore, and it changes everything about how a color actually looks.

    Quick answer: When learning how to choose paint color, always test swatches on the actual wall under both natural daylight and artificial lighting — colors can look dramatically different depending on the room’s light exposure and time of day.

    2. Living Room — Warm, Welcoming Tones

    Living rooms benefit from colors that feel inviting without being overwhelming, since this is where most social interaction happens.

    • Warm neutrals like beige or soft taupe work well for most spaces
    • Sage green or muted blue add character without feeling too bold
    • Avoid overly dark colors unless the room gets significant natural light

    I’ve noticed people shy away from color entirely in living rooms, defaulting to plain white. It’s safe, sure, but a slightly warmer neutral often makes the space feel more finished.

    3. Bedroom — Calming, Restful Shades

    Direct answer: For bedrooms, soft, muted colors like dusty blue, sage green, or warm grey work best since they promote a calmer atmosphere conducive to rest, while bright or highly saturated colors can feel overstimulating in a space meant for relaxation.

    • Avoid bright reds or oranges — they can feel too energizing for sleep spaces
    • Soft pastels work particularly well in smaller bedrooms
    • Consider darker accent walls for a cozier, more intimate feel

    4. Kitchen — Bright and Practical

    Kitchens deal with grease, splashes, and heavy daily use, so both color and finish matter here. [link to related kitchen renovation cost guide here]

    • Light, bright colors make kitchens feel larger and cleaner
    • Semi-gloss or satin finishes hold up better against grease and moisture
    • Yellow, soft white, or light grey are popular practical choices

    5. Bathroom — Fresh and Moisture-Resistant

    Picture a small business owner in Jaipur who painted her bathroom a beautiful matte navy blue, only to watch it develop mold patches within months due to humidity. Bathroom paint needs to prioritize function over just color choice.

    • Always use moisture-resistant or bathroom-specific paint formulations
    • Light blues, soft greens, or crisp whites work well for a fresh feel
    • Avoid matte finishes — they trap moisture more than satin or semi-gloss

    6. Home Office — Focus-Friendly Colors

    With more people working from home, this room deserves thought too. Colors that promote focus without feeling sterile work best here.

    • Soft blues and greens are associated with improved concentration
    • Avoid overly bright or high-contrast colors that can cause visual fatigue
    • Consider an accent wall behind your desk setup for visual interest

    7. How to Actually Test Paint Before Committing

    Has this ever happened to you — painting an entire room, only to hate the color once it’s fully dry and covering every wall? Testing properly avoids this completely.

    • Buy small sample pots before committing to a full room
    • Paint a section at least 2×2 feet, and view it at different times of day
    • Let samples dry fully — wet paint color often looks different than dried

    8. Coordinating Colors Across Connected Spaces

    For open-plan homes, colors need to flow logically between rooms rather than clashing at doorways. [link to related decorating ideas guide here]

    • Choose a base neutral that works across multiple connected rooms
    • Use one or two accent colors consistently throughout, rather than a different bold shade per room
    • Test transitions at doorways and hallways specifically, not just individual rooms

    Frequently Asked Questions

    Q1: How do I choose a paint color without seeing it in my actual room first? Always test physical samples on your walls — online or in-store swatches rarely represent how color appears under your specific lighting.

    Q2: What’s the safest paint color choice for resale value? Neutral tones like soft white, warm beige, or light grey tend to appeal to the widest range of buyers if you’re planning to sell.

    Q3: Should ceiling color match wall color? Not necessarily — a slightly lighter shade or classic white ceiling often works better, helping rooms feel taller and more open.

    Q4: How many paint samples should I test before deciding? Testing 2-3 shortlisted colors is usually enough; testing too many at once can make the decision more confusing, not less.

    Q5: Do small rooms need lighter paint colors? Generally yes, lighter colors help small rooms feel more spacious, though a well-lit small room can sometimes handle darker, moodier tones too.

    Q6: How often should I repaint a room? Most interior paint lasts 5-7 years before needing a refresh, depending on wear, sunlight exposure, and room usage.


    Conclusion

    Learning how to choose paint color properly comes down to testing in real conditions, understanding room function, and resisting the urge to decide from a tiny swatch alone. Take the time to sample colors on your actual walls before committing to gallons of paint. Pick one room to start with this month, test a few shortlisted shades, and you’ll likely land on something you’re genuinely happy living with for years.


    Suggested Image Alt Text:

    1. “Paint swatches being tested on a living room wall”
    2. “Soft blue bedroom paint creating a calm atmosphere”
    3. “Bright kitchen wall painted in light, practical color”